NextJS Blog (1)

NextJS 정적 블로그 만들기
이전에 원티드 Pre-on-Boarding에서 배운 NextJS를 좀더 활용하고자 정적인 Blog를 간단하게 만들어 보았었다. 헌데 방법을 알았다고 해서 모든걸 다 경험한것은 아닐것 같아 공부겸 조금더 다듬어 개인 Blog를 만들어 보고싶었다.
이래저래 트러블 슈팅하면서 적어둘게 많았지만, 완성하고 블로그를 또 쓸거라서 문제를 해결했던 방법에 대해 쭉 나열하듯 써보려고한다.
NextJS Styled-Component 적용하기
먼저 CSS를 하나하나 class를 선언해서 하기엔 복잡함이 있기도하고, 하나의 컴포넌트 처럼 사용하고 싶다보니 이전 프로젝트에서 많이 썼던 EmotionJS나, Styled-component를 사용하고 싶었다.
CSS-in-JS와 같은 경우엔 JS코드가 적용되지 않은 페이지가 먼저 렌더링 되기 때문에 문제가 발생하게 된다. NextJS는 HTML파일에 CSS-in-JS 형식으로 작성된 스타일 요소들을 주입시켜 스타일이 뒤늦게 적용되는 문제를 해결할 수 있다.
NextJS 공식문서
NextJS 13버전에서는 _document는 사용하지 않기 때문에 아래와 같은 예시코드로 children을 받아 감싸주는 식으로 적용해주어야 한다.
다만 Styled-component의 버전에 따라 registry의 형식이 다르다. 먼저 최소한의 NextJS에서 Styled-component의 버전은 v5.1.0부터 지원이 되고 v6이전까지는 아래의 컴포넌트로 감싸주면 되겠다. 공식문서
// lib/registry

'use client'

import React, { useState } from 'react'
import { useServerInsertedHTML } from 'next/navigation'
import { StyleRegistry, createStyleRegistry } from 'styled-jsx'

export default function StyledJsxRegistry({ children }: { children: React.ReactNode }) {
  // Only create stylesheet once with lazy initial state
  // x-ref: https://reactjs.org/docs/hooks-reference.html#lazy-initial-state
  const [jsxStyleRegistry] = useState(() => createStyleRegistry())

  useServerInsertedHTML(() => {
    const styles = jsxStyleRegistry.styles()
    jsxStyleRegistry.flush()
    return <>{styles}</>
  })

  return <StyleRegistry registry={jsxStyleRegistry}>{children}</StyleRegistry>
}
v6이상의 경우엔 아래와 같은 컴포넌트로 감싸면 되겠다.
'use client'

import React, { useState } from 'react'
import { useServerInsertedHTML } from 'next/navigation'
import { ServerStyleSheet, StyleSheetManager } from 'styled-components'

export default function StyledComponentsRegistry({ children }: { children: React.ReactNode }) {
  // Only create stylesheet once with lazy initial state
  // x-ref: https://reactjs.org/docs/hooks-reference.html#lazy-initial-state
  const [styledComponentsStyleSheet] = useState(() => new ServerStyleSheet())

  useServerInsertedHTML(() => {
    const styles = styledComponentsStyleSheet.getStyleElement()
    styledComponentsStyleSheet.instance.clearTag()
    return <>{styles}</>
  })

  if (typeof window !== 'undefined') return <>{children}</>

  return <StyleSheetManager sheet={styledComponentsStyleSheet.instance}>{children}</StyleSheetManager>
}
나의 경우엔 app폴더내의 layout에 해당 컴포넌트를 감싸주어 사용하였다.
import Layout from '@/components/layout/layout' import './globals.css' import StyledComponentsRegistry from '../../lib/registry'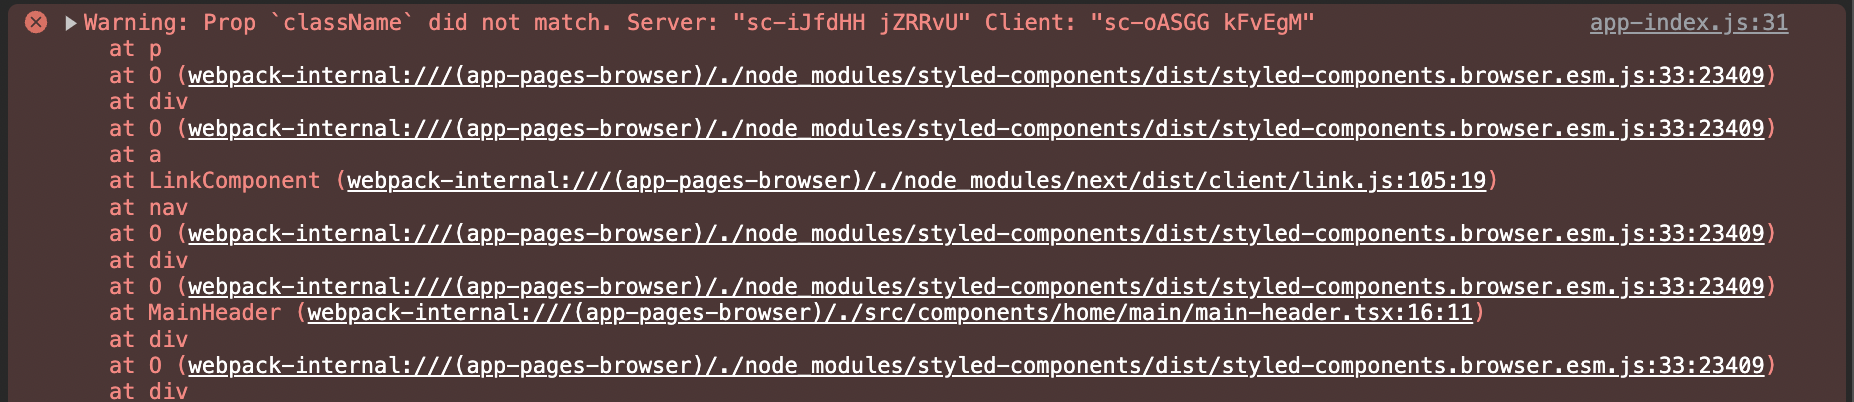 export default function RootLayout({ children }: { children: React.ReactNode }) { const setThemeMode = ` if(!window.localStorage.getItem('theme')){ localStorage.theme = 'light' } document.body.dataset.theme = window.localStorage.getItem('theme') ` return ( <html> <body suppressHydrationWarning={true}> <script dangerouslySetInnerHTML={{ __html: setThemeMode, }} ></script> <StyledComponentsRegistry> <Layout>{children}</Layout> </StyledComponentsRegistry> </body> </html> ) }
className did not match.

Warning: Prop `className` did not match.
위와같이 설정후 styled-component를 사용하다보면 위와같은 경고를 마주치게 된다. 문구를 자세히 살펴보면 서버와 클라이언트의 클래스명이 다르기 때문에 문제가 생긴다는 내용이다.
NextJS는 첫 페이지 로드가 SSR로 동작하기 떄문에 서버에서 생성된 컴포넌트와 CSR로 클라이언트에서 생성된 컴포넌트의 클래스명이 당연히 다르게 생성된다.
NextJS v12이전에는 플러그인을 통해 해결했지만, v12이후에는 SWC를 사용하여 컴파일하도록 변경되었다. 하여 간단하게 이를 해결할 수 있는데, next.config.js에서 nextConfig에 styledComponent 설정만 해주면 SWC를 사용하면서 문제를 해결할 수 있다.
/** @type {import('next').NextConfig} */
const nextConfig = {
  compiler: {
    styledComponents: true,
  },
}

module.exports = nextConfig
정적 이미지 Image태그에 src로 사용할 경우
Unhandled Runtime Error Error: Failed to parse src '이미지 파일명' on `next/image`, if using relative image it must start with a leading slash "/" or be an absolute URL (http:// or https://)
이전에 이미지를 불러오는 방법으로 Image태그 src에 .png 파일의 경로를 넣어주었었다. 하지만 이번에 진행했던 프로젝트에서는 .md 파일의 data에 coverImage 경로를 넣어 src에 삽입해 주었는데 해당 경로를 읽지 못한 에러가 발생한 것이다.
직접 import하기
먼저 첫 번째 방법으로 .png파일을 직접 import해서 src에 가져다 넣어주는 방법이 있다.
import picture from '../../assets/pic.png'

const Components = () => {
  return (
    <div>
      <Image src={picture} />
    </div>
  )
}
상대경로 작성
두 번째 방법으로는 경고문에서 안내된것 처럼 정적 이미지를 사용할때 앞에 /를 붙이거나 상대적인 url로 만들어주는 작업이 필요하다.
const Components = ({data}: DataProps) => {
  return (
    <div>
      <Image src=`/${data.image}` />
    </div>
  )
}
외부 이미지 사용
세 번째 방법으로 외부의 이미지를 사용할 경우이다. 내가 이 블로그에 올린 이미지를 개인 블로그에서 사용한다거나, 외부의 이미지를 가져와 넣을때 필요한 방법이다.
이렇게 외부의 동적 리소스를 NextJS 자체의 Image태그로 처리할 경우 위의 styled-component에서 설정해줬던 next.config.js파일에 이미지 경로를 따로 설정해주어야 한다.
// 방법1
/** @type {import('next').NextConfig} */
const nextConfig = {
  compiler: {
    styledComponents: true,
  },
  images: {
    domains: ['example.com', 'example2.com'], // 이곳에 에러에서 hostname 다음 따옴표에 오는 링크를 적으면 된다.
  },
}

// 방법2
/** @type {import('next').NextConfig} */
const nextConfig = {
  compiler: {
    styledComponents: true,
  },
  images: {
    remotePatterns: [
      {
        protocol: 'https',
        hostname: '**.example.com',
      },
    ],
  },
}

module.exports = nextConfig
Next/Image 비율에따라 자동 설정하기
NextJS의 Image 태그를 사용하면서 이미지의 비율을 자동으로 설정되게끔 하고 싶었다.
layout과 objectFit
NextJS에서 이미지 비율을 맞추던 방법으로 layout과 objectFit이 있는데 v13이전 크기를 알 수 없는 이미지를 next/Image에 넣기 위해서 props로 layout='fill'을 넣어주어야 했다.
layout='fill'은 부모요소중 psition으로 relative, absolute, fix값 중 하나를 가지고 있는 요소를 기준삼아서 이미지의 크기를 결정하게 된다. 이를 통해 이미지의 크기를 자동으로 결정할 수 있다.
하지만 layout='fill'은 크기를 유동적으로 결정해도 이미지 비율까지는 보장하지 못한다는 단점이 있다. 이러한 단점을 보완하기 위해 사용했던 props가 바로 objectFit이다. css의 object-fit과 같은 역할을 하며 fill, cover, contain등의 값을 통해 이미지 비율을 유지할 수 있도록 할 수 있다.
<CarouselImageDiv>
  <Image
    src={postData.data.coverImage}
    alt={`carousel-image-${currentIndex}`}
    fill
    style={{ borderRadius: '20px', objectFit: 'cover' }}
  />
</CarouselImageDiv>
Image with src has "fill" but is missing "sizes" prop.
Image with src "xxxx" has "fill" but is missing "sizes" prop. Please add it to improve page performance. Read more: https://nextjs.org/docs/api-reference/next/future/image#sizes
위와 같이 설정하니 console에 경고문가 뜨게 되었다. 해석해보자면, 이미지 src에는 fill이 있지만 sizes 속성이 없으니 페이지의 성능을 향상시키려면 해당 props를 추가하라는 말이다.
해결방법은 간단하다 sizes props를 넘겨주면 되겠다.
<CarouselImageDiv>
  <Image
    src={postData.data.coverImage}
    alt={`carousel-image-${currentIndex}`}
    fill
    sizes="100%"
    style={{ borderRadius: '20px', objectFit: 'cover' }}
  />
</CarouselImageDiv>
Please add the "priority" property if this image is above the fold.
Image with src "xxx" was detected as the Largest Contentful Paint (LCP). Please add the "priority" property if this image is above the fold.
next/Image는 일반적인 <img>와는 다르게 이미지 최적화 lazy-loading을 지원한다. 또한 이미지 로딩전에 해당 크기만큼 placeholder를 지정해두기 때문에 이미지 로드 후 layout shift가 발생하지 않는다. 하여 fill의 경우가 아닐때에는 width와 height를 미리 태그에 지정해야한다.
위의 경고문구를 보면 이미지가 스크롤 없이 볼 수 있는 부분 위에 있으면 priority속성을 부여하여 우선순위 이미지를 설정할 수 있다. 기본값은 false로 되어 있고 true일 경우 lazy-loading되지 않고 우선순위가 높은것으로 간주하여 미리 로딩되게 된다.
<CarouselImageDiv>
  <Image
    src={postData.data.coverImage}
    alt={`carousel-image-${currentIndex}`}
    fill
    priority
    sizes="100%"
    style={{ borderRadius: '20px', objectFit: 'cover' }}
  />
</CarouselImageDiv>
Module not found: Can't resolve 'fs'
Module not found: Can't resolve 'fs'
fs 모듈은 node.js에서 컴퓨터의 파일 시스템에 접근하여 읽고 사용하기 위한 모듈이다. NextJS 클라이언트에서 fs모듈을 사용하려고 하면 Module not found: Can't resolve 'fs'와 같은 에러가 발생하게 된다.
NextJS v12의 경우엔 /page 하단에 있는 페이지 컴포넌트에 fs 모듈을 넣어서 문제가 되었을 것이고, v13 이상에서는 'use client'를 사용하고 async/await을 사용한 컴포넌트, 즉 client component에서 사용했을 경우에 위와같이 fs 모듈을 찾을 수 없다는 에러가 나게 된다.
서버 컴포넌트가 처음 호출할때는 NextJS 서버에서 실행되고 이후 라우터로 이동한 경우는 클라이언트에서 실행된다. 그런데 서버에 있는 파일에 접근하려고 하면 당연하게 오류가 나게 되겠다.
하여 내가 해결했던 방법으로(v13) 상위 서버 컴포넌트에서 props로 데이터를 내려주었고, 그 데이터를 클라이언트에서 사용할 수 있도록 코드를 바꾸어 주었다.
Styled-comopoenets props
styled-components: it looks like an unknown prop "managed" is being sent through to the DOM, which will likely trigger a React console error.
If you would like automatic filtering of unknown props, you can opt-into that behavior via<StyleSheetManager shouldForwardProp={...}/>(connect an API like@emotion/is-prop-valid) or consider using transient props ($prefix for automatic filtering.)
Warning: Receivedtruefor a non-boolean attributemanaged.
해결
styled-comoponent에 props로 데이터를 넘겨주면서 생겼던 오류였다. 나는 styled-components v6.0.7를 사용하고 있었는데 v5.1부터는 props로 넘길때 $ 을 사용해서 transient props를 지정해줄 수 있다.
임시 props라는 의미로 스타일을 위한 컴포넌트에 props를 전달하고, HTML 태그에는 영향을 주지 않기 위해서 사용된다.
CSS-in-JS는 기본적으로 HTML 기본 태그를 가지고 있는 형태이다. styled-components는 기존 컴포넌트를 래핑하여 또 다른 컴포넌트로 확장이 가능하다보니 별도로 설정하지 않으면 기본태그까지 커스텀으로 정의한 props가 체인을 타고 모두 거슬러 올라가는 경우가 발생하게 된다.
예시
'use client'
import styled from 'styled-components'

interface BackgroundProps {
  managed: boolean
}

const BackgroundTemp = styled.div`
  width: 100%;
  height: 100%;
  background: black;
`

const SubBackground = sytled(BackgroundTemp)<BackgroundProps>`
	background: ${(props) => (props.managed ? `blue` : `green`)}
`

const MainBackground = styled(SubBackground)`
  background: red;
`
styled-components는 스타일링만들 위해 정의하는태그이므로 여기서 만든 props는 HTML태그로 전달되면 안된다.
위의 예시로 봤을때는 MainBackground, SubBackground가 되겠다.
console에 띄워진 방법인 transient props로 $기호를 붙여주어 해당 props가 DOM요소로 전달되어서는 안된다는 뜻으로 사용하면 되겠다.
const SubComponenet = () => {
  const [managed, setManaged] = useState(true)

  return (
    <SubBackground $managed={managed}>
      <Title />
      <Content />
    </SubBackground>
  )
}
따라서 예시를 위와 같이 해결할 수 있겠다.
